If you’re a beginner you’ve probably spent some time researching the best wood burning tool to fit your needs. We hope that our resources have been able to provide you with sufficient knowledge to make an educated purchase! What we would like to cover now is all of the other items that you will need to make your wood burning projects go smoothly.
Sandpaper is Essential for Pyrographers
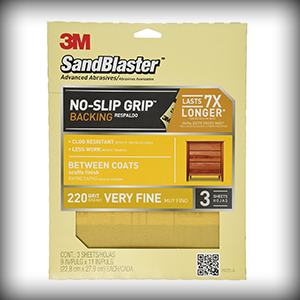
Sand paper is essential for any piece of wood that you work with. You don’t want a rough feeling canvas and you don’t want splinters sticking out of your art work! Not only will sanding leave you with a smooth piece of wood but it will make wood burning much easier. Nothing is worse than running your woodburning pen along a rough surface and not being able to get the results that you want.
There are electric sanders out there but I have always stuck with doing it manually. I find that with a power sander it is easy to take too much off of the wood and leave dips in the surface. Instead try using a small block of wood and wrap a sheet of sandpaper around it. The grit numbers of a sheet of sandpaper determine how fine or course the surface of it is. Course sandpaper with a low grit number will shave off the wood faster but will leave a rougher finish. Fine sandpaper with a high grit number will take longer to sand with but will leave a smooth even finish. It is best to start with a low grit sandpaper and work your way up to a higher grit as you go. I typically start sanding with 220 grit and then use 320-grit, 600-grit, and finally 800-grit. This may seem like overkill but if done properly it will leave you with an ultra smooth canvas to work with.
Removing Stray Marks
You will also find that sandpaper can be used to clean up any stray marks that you made while transferring your pattern or in some cases light burns can be sanded away.
Removing Carbon Buildup
If your pyrography tool is one that uses solid tips instead of the wire type you will find that cleaning your tips with a high grit sandpaper is useful in many cases. Check with the user manual of your wood burning tool to ensure the best way to clean it before you attempt this method. Often times I will have a small square of high grit sandpaper next to my work area so that I can clean off any carbon buildup on my tips. You will see this carbon buildup as a black area on your tips that will occur when burning most woods, especially something like pine that has a lot of resin inside. For this type of cleaning I typically use a super fine grit sandpaper in the 1500-grit range that is made for use on metal. This will take away the black areas and will make your tips look brand new! A clean tip will function much better and heat more evenly than a tip with a lot of carbon on it.
Reshaping Your Tips
Once you are more experienced you will begin to find what you like and dislike in a wood burning tool. You might try out a bunch of different tips and find that you like having a sharp edge on your universal point. You might decide like me that you want to make your universal point a little less sharp. On certain universal points for example, I find that they are a little too difficult to work with if the point or edge are too sharp as they tend to cut into the wood. I like to take a piece of high grit sandpaper and sand down the edge and point just enough to make it how I like it. Again, this is a personal preference that you will want to experiment around with.
Heat Resistant Pyrography Gloves
A lot of pyrography artists like to wear gloves while they work. This will protect your hands in the event that the hot tip touches your fingers and can be a great piece of safety equipment. In addition to the safety aspects of wearing gloves a lot of times it is just more comfortable when working with certain wood burning tools. Sometimes the handle of some woodburners can get very hot and become hard to work with for extended periods of time. Purchasing a good pair of gloves will allow you to work longer and more comfortably. Many artists who are not used to wearing a glove will say that it’s unnatural feeling but I find that you can get used to it fairly quickly. The secret to finding the right glove is to choose one that is safe and at the same time not overly bulky. Leather gloves are a good choice because they provide a lot of insulation from the heat. What you want to avoid is any type of material that can melt if it comes into contact with your pyrography iron. Do not use something like a disposable latex glove. It won’t provide much comfort from the heat and it might be even less safe than wearing no glove at all. On the opposite end of the spectrum you don’t want to buy a huge bulky glove that is so thick that you lose the feel for your drawing.
Sealant to Prevent Wood Burned Pieces From Fading
When you’ve finished your art work you will want to apply some type of finish to protect your piece. One thing that differentiates pyrography from other mediums of art is that our works change over time. The wood will begin to oxidize and darken over time and this makes for less contrast between your burned lines and the canvas. For this reason it will appear that your wood burning has faded away slowly with time. Unfortunately there is no way to stop oxidizing and fading completely but what we can do is try to slow it down with a finish or sealant. In addition to whatever finishes you decide to use you will also want to keep your finished artwork out of direct sunlight and UV light.
Choosing a Finish
The problem with a lot of types of finishes is that they dull some of your lines and you will lose some of the detail. If at all possible we want to avoid this and have the finish protect your art without altering it too much. We recommend testing out whatever finish you choose on a scrap piece of wood to see how it turns out. Each finish will have a different darkness or color to it and some will be more glossy than others.
Polyurethane
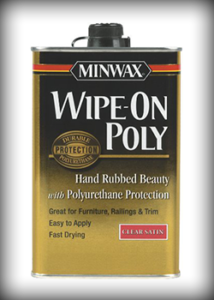
A lot of woodburners like to use polyurethane and it can be applied with either a rag or a brush. Keep in mind that finishes like polyurethane will make your wood darker. If you choose to coat your art with poly we recommend a satin polyurethane with several coats. There are Make sure that your surface is dust free before applying any type of finish and follow the instructions for whatever product you decide on.
Krylon Spray
There are a lot of good Krylon spray sealants out there that are very easy to apply. These come in spray cans and in many different styles. We like to use a flat style Krylong sealnt to reduce any sheen or reflectiveness that glossy finishes would leave.
Tung Oil
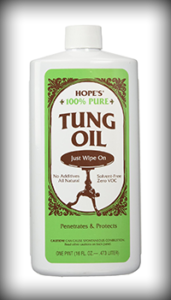
Tung oil can be used on your wood burned pieces but it will darken the wood. Tung oil soaks into the wood and acts to preserve it. It can be applied with a cloth and only takes one light coat to do the trick.
Finish for Bark on Wood Burned Pieces
If you are using a round or plank that has bark on it you will want to put a finish on the bark. This will help to keep the bark in place so that it doesn’t fall off and make a mess. It is normal for some smaller pieces of bark to come off but adding a finish to the bark will help harden the outer layer and keep big pieces from falling off. The best tool we’ve found to finish bark is Mod Podge which can be applied with a sponge or brush before or after doing your burning. If you apply it before your wood burning make sure that you don’t burn any of the bark.
Other Wood Burning Accessories
Pliers for Changing Woodburner Tips
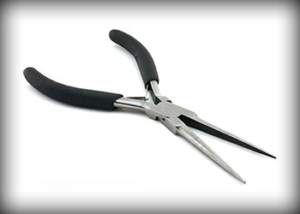
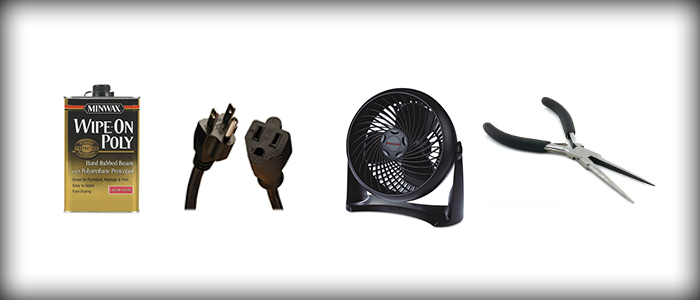
A good pair of pliers is a great tool to have for any pyrography artist. If you ever find yourself changing the tips on your iron you will want to invest in a pair. Not only does a good pair of pliers protect your hand from any heat it also allows you to tighten down the tips more so that they don’t come loose. It doesn’t really matter if you opt for needle nose or for traditional pliers either will work for your needs. I do suggest that you buy some with some sort of insulation on the grips to protect yourself from the heat. Stay away from pliers that have metal handles.
Extension Cord for your Wood Burning Pen
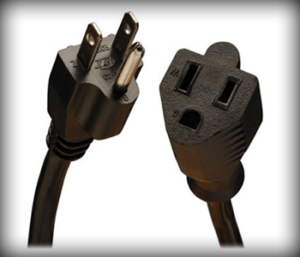
Depending on the tool that you have you might find that you have quite a short power cord. In some cases it can be a hassle trying to set up so close to an outlet only to find yourself running out of cord. If you have one of the burners that employs a short power cord you might want to look into getting an extension cord. When you are shopping for an extension cord for your pyrography iron make sure that you get one that is a large gauge. These are usually marked as heavy duty and will be able to handle the power usage of your wood burner much more easily. Some of the smaller cheap extension cords use wire that is too small for our needs. Electrical safety is not somewhere that you want to be cutting corners so don’t be afraid to splurge and spend a few extra dollars.
Dish for your Pyrography Tips
One item that most people don’t think of is some kind of dish or container that is heat resistant and will hold your pyrography tips. Even though you should let your tips cool off before you remove them they may still be a little warm and shouldn’t be left to sit on something flammable. Get a small glass or ceramic dish to put your tips in when they aren’t being used. Not only is it safer it is more organized and will save you from having to track them down every time you start wood burning.
Fan for the Fumes
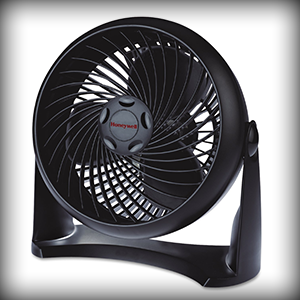
A small fan can be a great asset in sucking out all of those nasty fumes when you’re working a piece. It is much safer to position a small fan to keep all of that smoke out of your lungs. A small fan can also help to keep the sawdust out of your work area which can be harmful as well when inhaled.